
Who Gets In | Microsoft Conditional Access
The question of controlling access to an organization’s data and systems comes up often in our conversations with customers. Recently we had another customer ask how to ensure that devices being used to access their cloud environment met their security requirements.
While there are several ways to address that issue, one of the technical solutions we did some digging on was Microsoft’s Conditional Access solution that is part of Azure AD and Intune.
What follows below are some of the key findings we uncovered in configuring Microsoft Conditional Access via Intune.
Licensing Model(s)
While there are several ways to gain access to Conditional Access functionality within the Microsoft cloud platform, we decided to go down the Intune route.
This is because we wanted to be able to apply access policies based on different aspects of the device which in the Microsoft world means Intune is needed.
In addition, Intune provides ways to manage other aspects of both mobile and laptop/desktop devices which is a bonus.
So in order to get the functionality of Intune and Conditional Access you will need to look at Microsoft’s Enterprise Mobility + Security (EMS) offerings. The licensing models break down like this:
- EMS E3
- Intune
- Azure AD Premium P1
- Azure Information Protection P1
- Advanced Threat Analytics
- EMS E5
- Intune
- Azure AD Premium P2
- Azure Information Protection P2
- Advanced Threat Analytics
- Cloud App Security
- Azure Advanced Threat Protection
For the purposes of this article the minimum level needed is EMS E3 which adds Conditional Access functionality. Not to be confusing (yeah right), but in order to get ‘Risk-based Conditional Access’ the top level EMS E5 subscription is needed.
The primary difference between Conditional Access and Risk-based Conditional Access is that Conditional Access allows policies to be built based on User/Location, Device, and Application criteria while Risk-based Conditional Access adds Microsoft’s Intelligent Security Graph and machine learning to create a more dynamic risk profile to control access.
A final point about licensing. It is complex. Get your Microsoft contact involved to help figure out the licensing details for specific situations because there are many paths to the same destination.
Setting up Conditional Access
In order to configure a Conditional Access policy, there are a few pre-requisites that need to be configured. The specifics of configuring those pre-requisites is beyond the scope of this article, but the broad strokes are that you have properly set up and configured your azure account, Azure AD, and Intune.
This includes ensuring you have some Azure AD users and groups defined that policies can be applied to. Again, this is an oversimplification so my apologies if I left major pieces out.
Now we move into actually creating a Conditional Access policy. Fair warning, I will not cover every possible scenario. Instead, I will try to convey the major concepts and features of a Conditional Access policy as well as any gotchas I came across.
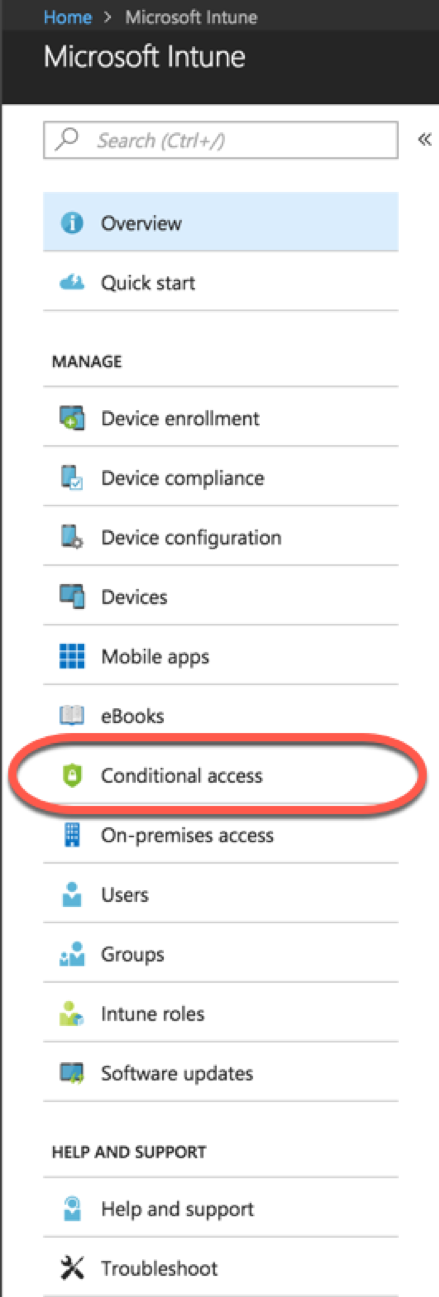
Open up your Azure portal and navigate to Intune>Conditional Access
Note: You can also find Conditional Access by navigating to Azure Active Directory>Conditional Access. In fact, this may be the better route to go because this path exposes additional options that you won’t find by navigating there via Intune.
For example, in the Azure AD Conditional Access portal you can create custom controls using JSON. You can also define named locations, VPN connectivity, terms of service.
In the right-hand pane, click + New Policy and a new policy window will open.
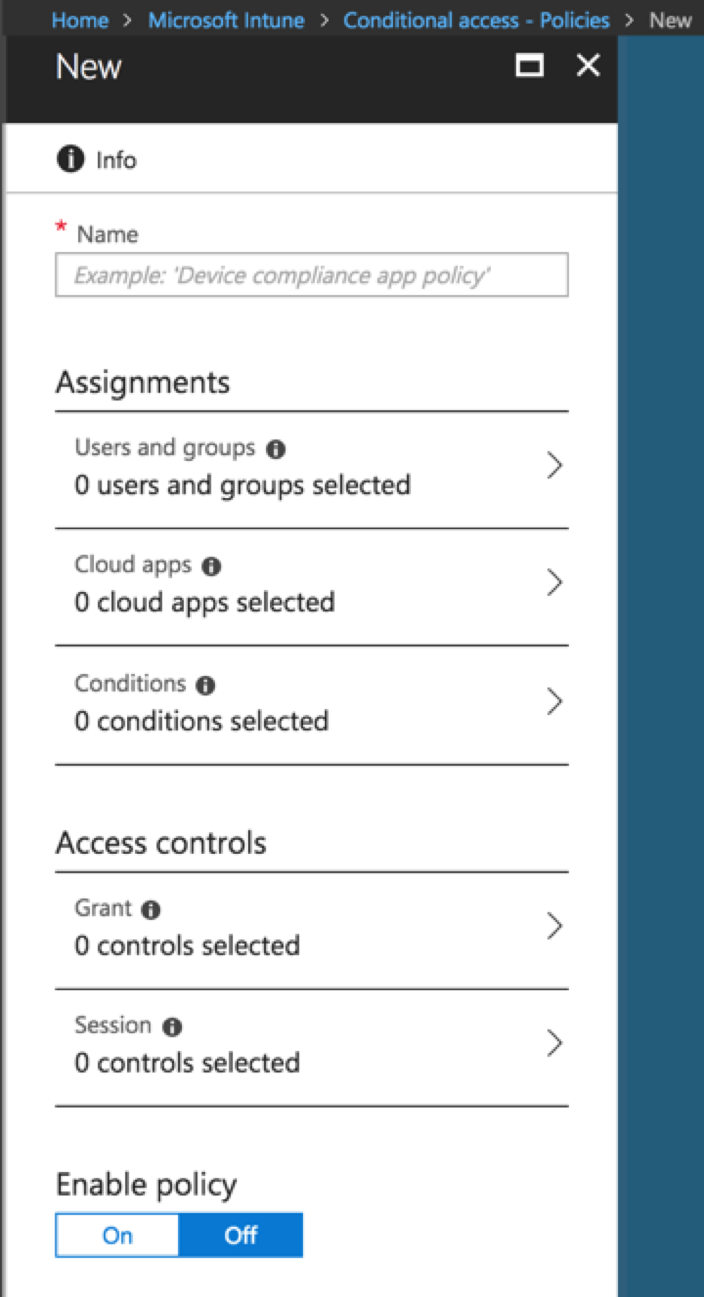
The two main sections of a Conditional Access policy are ‘Assignments’ and ‘Access Controls’
Assignments:
- Users and Groups
- Select the users and/or groups the policy will be applied to.
- Cloud Apps
- Select the Cloud Apps to be covered by the policy. O386 apps are available by default. Others can be added as needed (beyond the scope of this article)
- Conditions
- The conditions under which the policy will apply.
- The four condition areas are
- sign-in risk (Requires the EMS E5 plan I believe)
- Device platforms (ios, windows, android, etc.)
- Locations (requires configuring locations in Azure Portal)
- Client Apps (browser or client app)
Access Controls
- Grant (block or grant access based on additional criteria)
- Require multi-factor authentication
- Require device to be marked as compliant (more on this below)
- Require domain joined
- Require approved client app
- Session
- App enforced (in preview release)
- Proxy enforced (in preview release)
Once these sections have been completed the policy just needs to be enabled to take effect.
A word about Device Compliance
In order to select the ‘Require device to be marked as compliant’ option in the Grant section of an Access Control policy, you will need to create a Device compliance policy (or several depending on your needs). Device Compliance policies are pretty much what they sound like.
A set rules that indicate whether a managed device complies with your organization’s requirements. Depending on whether the device in question does or does not meet the compliance policy, it will be marked as either ‘Compliant’ or ‘Not Compliant’.
For a device compliance policy to work on a given device, it must be managed by Intune. It is beyond the scope of this article to get into the details of how devices are enrolled and managed in Intune, but at a high-level Intune can manage both personally owned and corporate owned devices.
To create a Device Compliance policy open up your Azure portal and navigate to Intune>Device Compliance >Policies and click “+ Create Policy”.
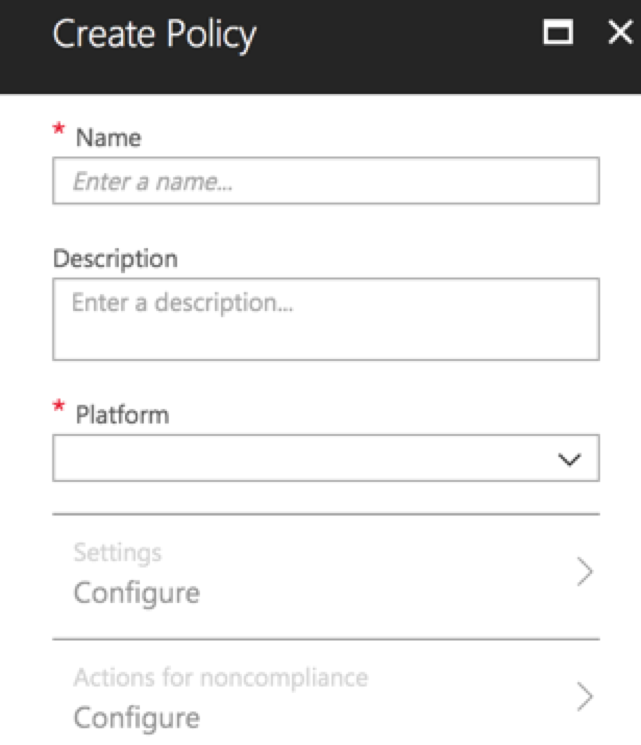 After entering a Name and selecting a platform to apply the policy to, click on Settings>Configure.
The policy settings have three categories of configuration. Note: The number of options under each category will change based on the OS platform that was selected.
- Device Health (settings vary based on OS. Examples for Win10 include Require BitLocker and Require code integrity)
- Device Properties (settings vary based on OS. Examples for Win10 include Minimum OS version and Maximum OS version)
- System Security (settings vary based on OS. Examples for Win10 include Require a password to unlock device and block simple passwords)
Once the policy is created, it must be assigned. Click on ‘Assignments’ and choose either a group or ‘All Users’. Warning, it is not recommended to apply policies to all users as there could be unintended consequences. The main point is to know who you are applying policies to so as to minimize surprises.
Now that a compliance policy has been applied it will require a check-in by the targeted user’s device(s) so that the device can run the compliance scan and return a compliant/not compliant result. This compliance assessment can then be used in a Conditional Access policy as described in the previous section.
Final thoughts
In wrapping all of this up there are a few things to keep in mind. First, the licensing aspect of Intune/Conditional Access is unclear from a non-employee standpoint. So for anyone looking to use Microsoft’s Conditional Access to address non-employee scenarios, further digging will be required.
Second, while it may seem mind-numbingly obvious, organizations that are already invested in Azure AD and O365 should take a serious look at Microsoft’s Conditional Access. With the proliferation of security tools in the market, it is sadly true that many organizations continue purchasing more tools when they may already have an adequate solution in hand.
In addition, Microsoft is taking cloud security very seriously and from what I can tell will continue to invest in improving their security solutions.
Related Links:
- Intune/EMS Subscription Levels
- Microsoft Conditional Access
- Integrating Threat Defense to Intune for compliance policies